Appearance
Client Setup
With the backend running in Docker, it's time to build the frontend. Lustre is a brilliant Gleam framework for building browser UIs using the Model-View-Update (MVU) architecture — in this chapter we'll add it to the client project and build a small greeting app to verify the setup before moving on to the real task UI.
Two files change:
sh
doable/
└── client/
    ├── gleam.toml         # lustre dependencies added
    └── src/
        └── client.gleam   # greeting app
Install Dependencies
Lustre is split into two packages: the runtime and the development tools.
sh
cd client
gleam add lustre
gleam add --dev lustre_dev_tools
After running these commands, gleam.toml gains two new entries[1]:
toml
# client/gleam.toml

[dependencies]
shared = { path = "../shared" }
gleam_stdlib = ">= 0.44.0 and < 2.0.0"
lustre = ">= 5.6.0 and < 6.0.0"

[dev_dependencies]
gleeunit = ">= 1.0.0 and < 2.0.0"
lustre_dev_tools = ">= 2.3.6 and < 3.0.0"- lustre — the frontend runtime: the MVU loop, the HTML DSL, and the event system.
- lustre_dev_tools — a development server with live reloading and the
gleam run -m lustre/dev startcommand. It's a dev dependency because it's not needed at runtime.
The MVU Pattern
Lustre structures every application around four things:
- Model — the complete state of the application at any point in time.
- Msg — a description of something that happened (a user action, a server response, a timer firing).
- update — a function that produces a new model from the current model and a message.
- view — a function from Model to HTML. No state lives in the view.
When a Msg is dispatched, Lustre calls update(model, msg) to produce the next model, then calls view(new_model) to produce the new HTML. The cycle repeats for every event. Because view is a function, the UI is always a deterministic reflection of the model — there's no component state to keep in sync.
┌───▶ User interaction
│           │
│           ▼
│        Message
│           │
│           ▼
│   update(model, msg)
│           │
│           ▼
│        new Model
│           │
│           ▼
│      view(model)
│           │
│           ▼
└───────── HTML
This is the lustre.simple loop — no side effects. Once the app needs to make HTTP requests, update will also return effects alongside the new model, and those effects can dispatch further messages back into the loop. The full diagram is in the Introduction.
The Greeting App
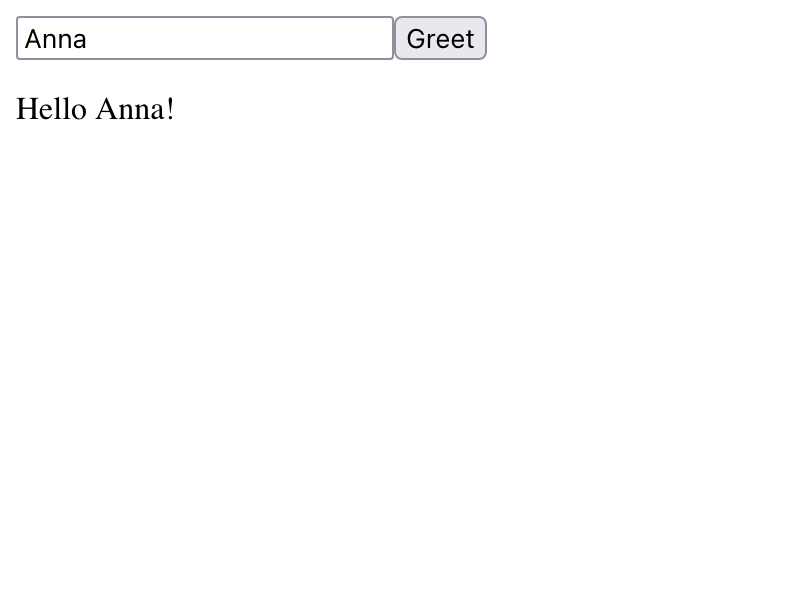
client.gleam implements a small app to validate the setup. A user types a name, clicks a button, and sees a greeting:
gleam
// client/src/client.gleam

import lustre
import lustre/element.{text}
import lustre/element/html.{button, div, input, p}
import lustre/event.{on_click, on_input}

pub fn main() {
  let app = lustre.simple(init, update, view)
  let assert Ok(_) = lustre.start(app, "#app", Nil)

  Nil
}

type Model {
  Model(name: String, greeting: String)
}

fn init(_flags) {
  Model(name: "", greeting: "")
}

type Msg {
  UserUpdatedName(String)
  UserClickedGreet
}

fn update(model: Model, msg: Msg) {
  case msg {
    UserUpdatedName(name) -> Model(..model, name: name)
    UserClickedGreet -> Model(..model, greeting: "Hello " <> model.name <> "!")
  }
}

fn view(model: Model) {
  div([], [
    input([on_input(UserUpdatedName)]),
    button([on_click(UserClickedGreet)], [text("Greet")]),
    p([], [text(model.greeting)]),
  ])
}
Walking through each part:
main
gleam
let app = lustre.simple(init, update, view)
let assert Ok(_) = lustre.start(app, "#app", Nil)
lustre.simple assembles the three MVU functions into an app. lustre.start mounts it onto the DOM element matching #app and passes Nil as the starting arguments — arguments are how the host page passes data in at startup; we don't need any yet.
Model
gleam
type Model {
  Model(name: String, greeting: String)
}

fn init(_flags) {
  Model(name: "", greeting: "")
}
The model holds all state: the text typed into the input and the greeting displayed below the button. init returns the initial model — both fields empty at startup.
Messages
gleam
type Msg {
  UserUpdatedName(String)
  UserClickedGreet
}
Msg is a custom type — each variant represents one thing that can happen. UserUpdatedName carries the current input value, dispatched on every keystroke via on_input. UserClickedGreet carries no data; it's dispatched when the button is clicked.
INFO
Lustre recommends naming messages in subject-verb-object form — UserUpdatedName rather than UpdateName. This makes it immediately clear what triggered the message, which becomes valuable as the message type grows.
Update
gleam
fn update(model: Model, msg: Msg) {
  case msg {
    UserUpdatedName(name) -> Model(..model, name: name)
    UserClickedGreet -> Model(..model, greeting: "Hello " <> model.name <> "!")
  }
}
update pattern matches on every possible message and returns the updated model. UserUpdatedName stores the latest input value; UserClickedGreet builds the greeting string from it. The ..model syntax copies all fields from the current model, replacing only the one specified — so unrelated state is never accidentally lost.
View
gleam
fn view(model: Model) {
  div([], [
    input([on_input(UserUpdatedName)]),
    button([on_click(UserClickedGreet)], [text("Greet")]),
    p([], [text(model.greeting)]),
  ])
}
HTML elements are regular Gleam functions that take a list of attributes and a list of children. Event handlers like on_input and on_click dispatch Msg values back into the loop — on_input wraps each keystroke's value in UserUpdatedName, on_click dispatches UserClickedGreet.
Running the Dev Server
lustre_dev_tools provides a development server that compiles the Gleam source to JavaScript and serves it at localhost:1234 with live reloading:
sh
cd client
gleam run -m lustre/dev start
On first run, lustre_dev_tools generates a .lustre/ directory containing an index.html that mounts the app on <div id="app"> — matching the selector passed to lustre.start. It also appends .lustre/ and /dist/ to .gitignore; the latter is where the compiled bundle lands when building for deployment.
Open http://localhost:1234 in a browser, type a name, and click the button. The greeting appears below — the Lustre setup is working.
What's Next
The greeting app proves Lustre's MVU loop works — pressed a button, saw the state change, saw the view re-render. Next, we'll throw away the greeting and build the real tasks screen: an HTTP client, an ApiError type, and a list view backed by the server we just shipped.